
Switching to solar energy is a smart move—both for the environment and your wallet. But what exactly happens when you decide to install solar panels on your home or business? In this blog post, we’ll walk you through the step-by-step process of solar panel installation, so you know what to expect from start to finish.
Switching to solar energy is a smart move—both for the environment and your wallet. But what exactly happens when you decide to install solar panels on your home or business? In this blog post, we’ll walk you through the step-by-step process of solar panel installation, so you know what to expect from start to finish.
The journey begins with a consultation. A solar energy company will evaluate your energy needs, roof space, sun exposure, and current electricity usage. This usually includes:
A technician may visit your property to conduct a site survey and take measurements to assess the feasibility of a solar installation.
After the assessment, the solar provider designs a system tailored to your home. The proposal will include:
Once approved, the company will finalize the design and prepare to move forward.
Installing solar panels involves permits and paperwork. Fortunately, most reputable installers handle this for you. They’ll take care of:
This step can take a few weeks, depending on local regulations and approval timelines.
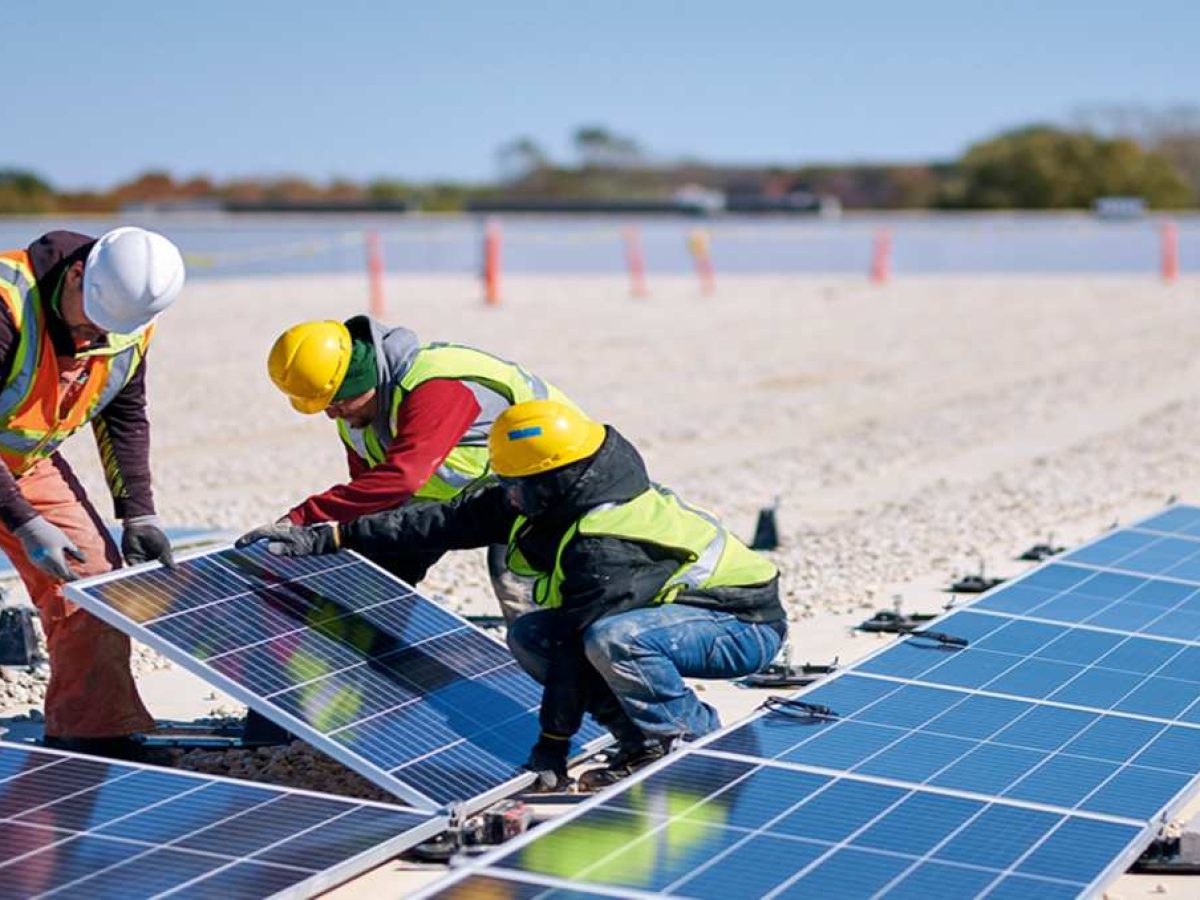
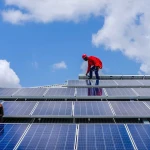
Once permits are approved, it’s time for installation! The physical installation typically takes 1 to 3 days, depending on system size and roof complexity. Here’s what happens:
The crew ensures everything is securely mounted and aligned for optimal sun exposure.
After installation, the system must be inspected by your local authority and utility provider. This ensures the system complies with codes and safety standards. Once passed, your system is ready for the final step: interconnection.
The utility company will install a net meter, which tracks the energy you produce and send back to the grid—key for earning solar credits.
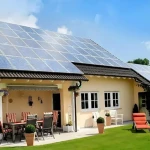
With everything approved and connected, your system goes live! Most solar providers offer monitoring tools (apps or online dashboards) so you can track your system’s performance in real-time.
You’re now producing clean, renewable energy—and lowering your electricity bills.

Installing solar panels is a structured and straightforward process when handled by experienced professionals. From the initial consultation to flipping the switch, the whole process can take anywhere from 1 to 3 months. With the long-term savings and environmental benefits, it’s well worth the effort.
May 21, 2025

May 20, 2025
May 04, 2025
Apr 30, 2025

May 09, 2025


By clicking the button, you are agreeing with our Term & Conditions