Installing a solar power system is one of the smartest investments a home or business owner can make. It can drastically cut electricity costs, reduce your carbon footprint, and add property value. However, before jumping straight into installation, it’s crucial to perform a detailed site assessment. A thorough evaluation ensures that your
Business
Site Assessment Checklist Before Installing Solar Panels
Installing a solar power system is one of the smartest investments a home or business owner can make. It can drastically cut electricity costs, reduce your carbon footprint, and add property value. However, before jumping straight into installation, it’s crucial to perform a detailed site assessment. A thorough evaluation ensures that your property is suitable for solar, helps you avoid costly mistakes, and maximizes the return on your investment.
Below is a comprehensive site assessment checklist to follow before installing a solar system.
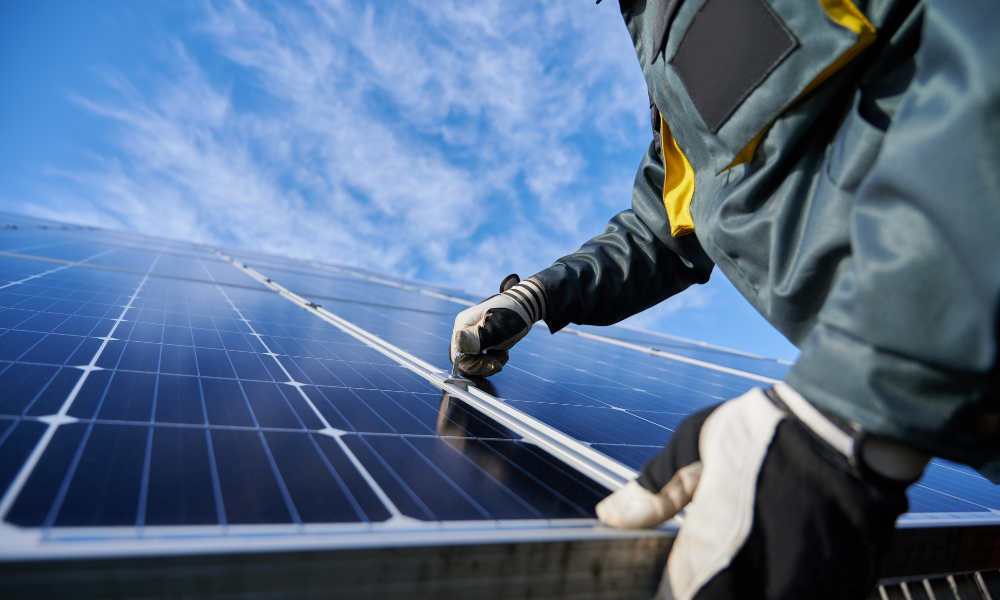
1. Evaluate the Roof Condition
Your roof is the foundation for your solar array, so it needs to be in good shape.
- Age of the Roof: If your roof is more than 15–20 years old, it may need replacement before installing solar panels. Replacing the roof after the panels are installed can be expensive and inconvenient.
- Structural Integrity: Have a qualified professional inspect for sagging, leaks, or damage. A strong, stable roof ensures that panels are securely mounted.
- Roofing Material: Solar can be installed on most materials (asphalt shingles, metal, tile, etc.), but some materials require specialised mounting equipment.
- Warranty Considerations: Check your roof’s warranty. Some manufacturers may void coverage if solar panels are installed without following their guidelines.
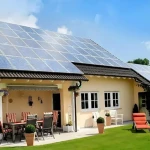
2. Determine Roof Orientation and Tilt
The direction and angle of your roof play a key role in how much sunlight your panels can capture.
- Orientation: In India and most of the Northern Hemisphere, south-facing roofs receive the most sunlight, followed by west- and east-facing roofs.
- Tilt Angle: Panels perform best at an angle close to your location’s latitude. Flat roofs can use adjustable mounting racks to achieve the optimal tilt.
- Multiple Roof Sections: If your roof has multiple planes, note which ones have the best exposure and minimal shading.
3. Check for Shading
Shade significantly reduces the efficiency of solar panels.
- Trees and Vegetation: Identify any trees that may cast shadows at different times of the day and year. Consider trimming or removing them if feasible.
- Nearby Buildings or Structures: Neighbouring buildings, chimneys, satellite dishes, or HVAC units can cause partial shading.
- Seasonal Changes: Shading can vary across seasons. Use solar assessment tools or apps to predict shade patterns throughout the year.
A professional installer often uses devices like a Solar Pathfinder or Solmetric SunEye to analyse shading accurately.
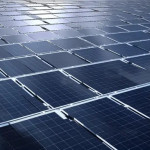
4. Analyze Available Roof Space
You’ll need sufficient unobstructed roof area to install the number of panels required.
- Measure the Usable Area: Exclude areas taken up by vents, skylights, chimneys, or other obstructions.
- Calculate the Needed Space: A standard residential solar panel is roughly 1.6 m x 1 m. Multiply by the number of panels you plan to install to estimate the space requirement.
- Future Expansion: If you anticipate adding more panels later (e.g., for an electric vehicle), plan for extra space now.
5. Evaluate Structural Load Capacity
Solar panels, mounting hardware, and occasionally snow or wind loads add extra weight to your roof.
Load-Bearing Capacity: Have a structural engineer verify whether your roof can handle the additional weight.
Wind and Seismic Zones: In high-wind or earthquake-prone areas, extra bracing or anchoring may be required to comply with safety codes.
6. Review Electrical System Compatibility
Your existing electrical infrastructure must be compatible with a solar power system.
- Main Service Panel Size: Check the amperage rating. Some homes may need an upgrade to handle the new system.
- Breaker Space: Ensure there’s room in the breaker box for the solar backfeed breaker.
- Wiring Condition: Outdated wiring may require replacement to safely integrate solar.
- Net Metering: Contact your utility company to confirm metering requirements and eligibility for grid-tied systems.
7. Understand Local Regulations and Permits
Solar installations are subject to local building codes, permits, and sometimes neighbourhood restrictions.
- Building Permits: Find out what permits are required by your local authority.
- Zoning Laws: Some areas have restrictions on how and where solar panels can be installed.
- Homeowner Association (HOA) Rules: If you live in a community with an HOA, review their solar policies.
- Utility Interconnection Requirements: Each utility has its own process for approving grid-tied systems.
Getting clear on regulations early prevents delays and ensures a smooth installation.
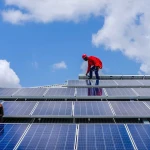
8. Consider Roof Access and Safety
Installers need safe access to the roof during installation and maintenance.
- Access Pathways: Fire codes often require clear pathways for emergency personnel.
- Fall Protection: Evaluate where safety harnesses, ladders, or scaffolding can be placed.
- Maintenance Access: Make sure there’s room to reach inverters or clean panels if needed.
9. Evaluate Inverter and Equipment Location
The inverter converts DC electricity from your panels into AC electricity for your home.
- Indoor vs. Outdoor: Inverters can be installed indoors or outdoors, but they should be in a cool, shaded area for maximum lifespan.
- Distance from Panels: Shorter distances reduce energy loss.
- Battery Storage Space: If you plan to install batteries, ensure there’s a ventilated, accessible area for them as well.
10. Assess Energy Consumption and Goals
Before sizing your system, understand how much electricity you use and what you want to achieve.
- Analyse Utility Bills: Review at least 12 months of bills to understand your average usage and peak demand.
- Efficiency First: Consider energy efficiency upgrades (LED lighting, insulation, and energy-efficient appliances) to reduce your load before installing solar.
- Future Usage: Factor in upcoming changes like electric vehicles, heat pumps, or home expansions.
This helps size your system accurately and avoid overspending.
11. Review Financing and Incentives
Solar is a significant investment. Plan your budget and explore available incentives.
- System Cost Estimates: Get multiple quotes from reputable installers.
- Government Incentives: Check for subsidies, tax credits, or state-specific programs that reduce the cost of solar.
- Net Metering Policies: Understand how you’ll be compensated for excess electricity sent back to the grid.
- Financing Options: Decide between paying cash, taking a loan, or entering a lease/Power Purchase Agreement (PPA).
12. Plan for Maintenance and Monitoring
While solar panels require minimal maintenance, planning ahead can improve long-term performance.
- Cleaning: In dusty or polluted areas, occasional cleaning is necessary to maintain efficiency.
- Monitoring System: Choose a monitoring platform to track production and detect issues early.
- Warranty and Service: Understand the warranties offered for panels, inverters, and installation workmanship.
13. Evaluate Ground-Mount Options (if Roof Is Unsuitable)
If your roof isn’t ideal for solar, you might still go solar with ground-mounted systems.
- Available Land: Check for open, unshaded land near your property.
- Soil and Grading: The ground should be level or graded properly.
- Setbacks and Easements: Ensure compliance with property boundaries and utility easements.
14. Hire a Reputable Solar Installer
A professional installer will help you navigate all these steps more easily.
- Certification: Look for certifications like MNRE (India) or NABCEP (U.S.).
- Track Record: Ask for references, reviews, and photos of past installations.
- Transparent Proposals: A good installer provides clear performance estimates and warranties.
Final Thoughts
A detailed site assessment before solar installation is the foundation for a successful, long-lasting system. By following this checklist, you can:
- Ensure your roof and electrical system are ready for solar
- Maximize energy production and savings
- Comply with local regulations and safety standards
- Avoid costly surprises during or after installation
Think of this process as an investment in peace of mind. With a clear understanding of your property’s suitability and the right professional guidance, your solar installation will deliver clean, renewable energy for decades to come.